Options Position Sizing: How to Protect Your Account

📚 Beginner’s Guide to Options — Part 40 of 51
- Part 1: What Is an Option? The Absolute Basics Explained
- Part 2: Calls vs. Puts: The Two Types of Options You Need to Know
- Part 3: Strike Price Explained: What It Actually Means for Your Trade
- Part 4: Expiration Date Explained: Why It Changes Everything
- Part 5: Premium Explained: What You’re Really Paying For
- Part 6: In the Money vs. Out of the Money: A Beginner’s Breakdown
- Part 7: Intrinsic Value vs. Extrinsic Value: What Makes Up an Option’s Price
- Part 8: How Buying a Call Option Works, Step by Step
- Part 9: How Buying a Put Option Works, Step by Step
- Part 10: What Happens When an Option Expires? Every Outcome Explained
- Part 11: Options Contracts 101: What One Contract Actually Represents
- Part 12: How to Read an Options Chain Without Getting Overwhelmed
- Part 13: Bid, Ask, and Spread: What They Mean When You’re Trading Options
- Part 14: What Is Implied Volatility? A Beginner’s Plain-English Guide
- Part 15: Why Options Lose Value Over Time: Theta Explained Simply
- Part 16: Delta Explained: What It Really Tells You About Your Option
- Part 17: Gamma Explained: Why Delta Doesn’t Stay the Same
- Part 18: Vega Explained: How Volatility Changes Your Option’s Price
- Part 19: The Greeks Cheat Sheet: Delta, Gamma, Theta, Vega in Plain English
- Part 20: What Is Assignment? What Happens If Your Option Gets Exercised
- Part 21: American vs. European Options: What’s the Difference?
- Part 22: How Much Money Do You Need to Start Trading Options?
- Part 23: Paper Trading Options: How to Practice Before Risking Real Money
- Part 24: The Biggest Mistake Beginners Make Buying Options
- Part 25: Why Most Beginners Lose Money Buying Options (and How to Avoid It)
- Part 26: Covered Calls Explained: The First Options Strategy Every Trader Should Learn
- Part 27: Cash-Secured Puts Explained: A Beginner-Friendly Way to Get Paid to Wait
- Part 28: Vertical Spreads Explained: Reducing Risk on Your First Options Trade
- Part 29: Credit Spreads vs. Debit Spreads: What’s the Real Difference?
- Part 30: The Protective Put Explained: Insurance for Your Stock Position
- Part 31: The Collar Strategy Explained: Protecting Gains Without Selling
- Part 32: Straddles Explained: Betting on a Big Move (In Either Direction)
- Part 33: Strangles Explained: A Cheaper Way to Bet on a Big Move
- Part 34: The Iron Condor Explained for Complete Beginners
- Part 35: The Wheel Strategy Explained: Getting Paid on Stocks You Want to Own
- Part 36: How Earnings Season Changes Options Pricing (and What to Watch For)
- Part 37: Why Options Get More Expensive Before Earnings: IV Crush Explained
- Part 38: Choosing the Right Strike Price for Your First Options Trade
- Part 39: Choosing the Right Expiration Date: Weekly vs. Monthly Options
- Part 40: How to Size an Options Position So One Bad Trade Doesn’t Wreck You (you are here)
⚡ Key Takeaways
- Position sizing determines your survival as a trader far more than your win rate does.
- Never risk more than 1% to 2% of your total account value on any single options trade.
- Size your trades based on your maximum dollar risk, not the number of contracts.
— Ben, Find Better Trades
Most beginners believe that trading success comes down to picking winners. Welcome to Part 40 of our series, where we tackle the actual reason traders blow up: terrible position sizing.
You can have an incredible strategy, but if one bad trade wipes out half your capital, you cannot stay in the game long enough to succeed.
Why Options Position Sizing Is Completely Different from Stocks
When you buy 100 shares of a $50 stock, you put up $5,000 of capital. If the stock drops 5%, you lose $250, which is painful but rarely catastrophic.
With long options, your downside is completely different because options can expire totally worthless. If you put that same $5,000 into out-of-the-money call options and the stock stalls, you lose the entire $5,000.
An option contract behaves like buying insurance on a house rather than buying the physical real estate. If the policy expires without an event, the premium you paid is gone forever.
We covered intrinsic and extrinsic value earlier in this series, and you know extrinsic value melts away every single day. That fast decay means you cannot size an options trade the same way you size a stock purchase.
Treating options like cheap shares of stock is the fastest way to drain your brokerage account. Every options trade must be sized around the total dollar amount you could lose if the trade goes straight to zero.
The 1% to 2% Rule: Your Core Defense Against Blowups
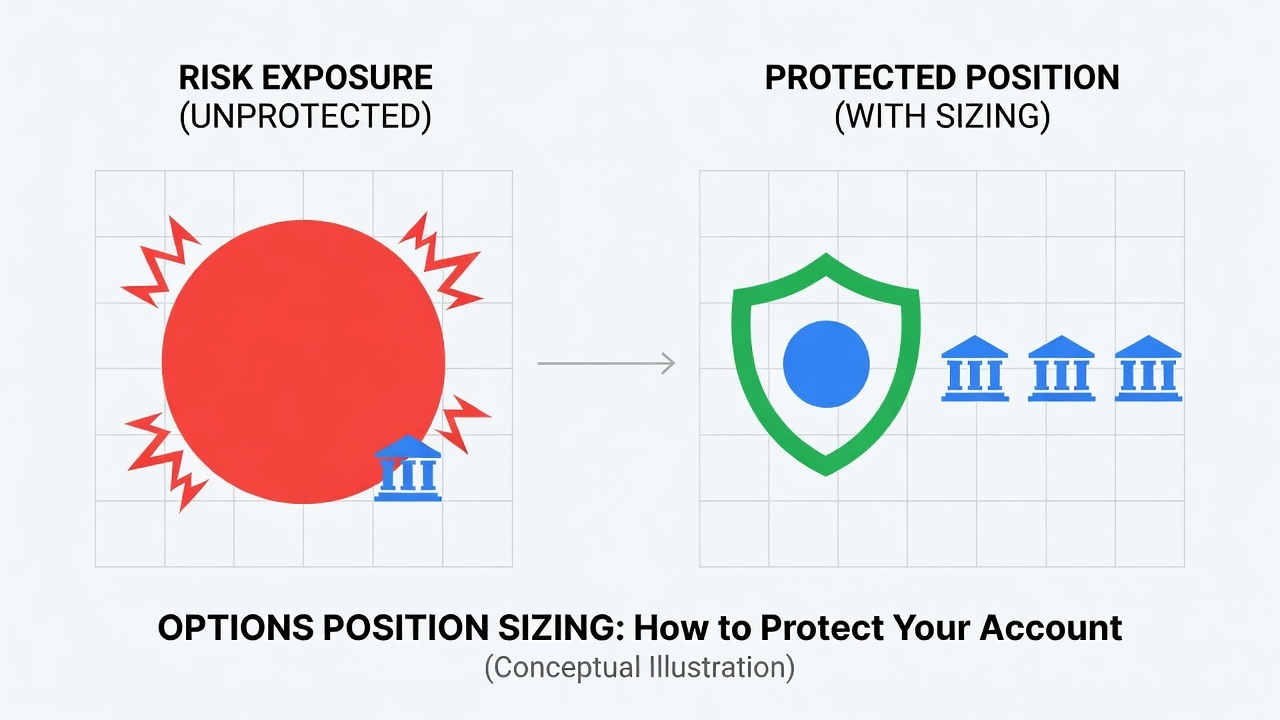
The golden rule of risk management is simple: never risk more than 1% to 2% of your total portfolio balance on a single trade. For an account with $10,000, risking 2% means your absolute maximum loss on any setup is exactly $200.
If you experience a brutal streak of five losing trades in a row, a 2% risk rule leaves you with roughly 90% of your account intact. You can easily recover from a 10% drawdown with a few disciplined trades.
Now imagine you risk 20% per trade instead. Five consecutive losses would destroy nearly 70% of your account, requiring a 233% gain just to get back to even.
Professional traders obsess over drawdown math because math does not care about your feelings. Protecting your capital allows you to wake up tomorrow and place the next high-probability trade.
Think of your portfolio as a fortress. Position sizing is the moat that stops a single mistake from breaching the walls.
Free For Traders
One Clear Arrow. Every High-Probability Setup. Free.
The Fusion Indicator combines multiple signals into a single buy/sell arrow on TradingView so you never miss a move.
 → Get The Free Fusion Indicator
Dollar Sizing vs. Contract Sizing: Sizing by the Math
Beginners almost always size by contract quantity instead of cash risk. They decide they want to trade “5 contracts” regardless of whether the contracts cost $0.50 or $6.00 each.
Trading 5 contracts at $0.50 puts $250 at risk ($0.50 multiplied by 100 shares per contract, times 5 contracts). Trading 5 contracts at $6.00 puts $3,000 at risk on that single trade.
Contract sizing creates wildly inconsistent risk across your portfolio. One loss on an expensive contract can wipe out the profits from ten small winners.
Instead, always use dollar risk sizing to work backward from your account size. You determine your dollar limit first, look at the trade’s maximum possible loss, and calculate how many contracts you are permitted to buy.
Here is a quick reference table comparing how contract sizing versus dollar risk sizing affects account stability:
| Approach | Trade Setup | Capital at Risk | Account Impact on $10k |
|---|---|---|---|
| Contract Sizing (Fixed 5 Contracts) | 5 Calls @ $4.50 | $2,250 | 22.5% (Extremely Dangerous) |
| Contract Sizing (Fixed 5 Contracts) | 5 Calls @ $0.40 | $200 | 2.0% (Appropriate) |
| Dollar Sizing (Target 2% Max Risk) | Buy $4.50 Calls (Cap $200) | Skip trade or use a spread | 0% (Protects Account) |
| Dollar Sizing (Target 2% Max Risk) | 1 Call @ $1.80 | $180 | 1.8% (Safe & Controlled) |
As you can see, fixing your contract count leads to wildly erratic risk exposure. Dollar-based sizing ensures every trade respects your portfolio parameters.

Worked Example 1: Sizing Long Calls on a $10,000 Account
Let’s run through a step-by-step example using realistic numbers. Suppose you have a $10,000 cash balance and want to buy call options on hypothetical stock XYZ.
Step 1 is defining your risk limit. At 2% risk, your maximum allowed loss for this trade is $200.
Step 2 is checking the option chain. You find a 45-day call option trading at an ask price of $1.50 per share.
Because one contract controls 100 shares, one contract costs exactly $150 ($1.50 multiplied by 100). If this option expires out of the money, you lose that entire $150 premium.
Step 3 is dividing your dollar risk limit by the cost of one contract. You take $200 divided by $150, which equals 1.33 contracts.
Since you cannot buy fractional options contracts, you must always round down to the nearest whole number. You buy exactly 1 contract, putting $150 (1.5% of your total account) on the line.
How to Size Defined-Risk Spreads
Earlier in the series, we explored vertical debit and credit spreads. Spreads are fantastic because they allow you to define your exact maximum loss before you enter the trade.
When you trade spreads, your position size is not based on the total capital required to hold the shares. It is strictly based on the maximum risk of the spread.
For a vertical credit spread, your maximum risk is the width of the strike prices minus the net premium received, multiplied by 100. For a vertical debit spread, your maximum risk is simply the net premium paid upfront.
Because the maximum loss on a spread is usually much smaller than outright stock ownership, you can tailor your risk with precision. You simply divide your account’s dollar risk budget by the maximum loss per spread.
If a spread has a max loss of $300 and your risk budget is $600, you can safely trade 2 spreads. That clarity is why defined-risk spreads are my favorite vehicle for small and medium accounts.
From Find Better Trades
Only Trade When Momentum Is HEAVILY In Your Favor
The Power Index oscillator measures trend conviction at a glance — it filters out weak, choppy action so you only take the strong moves.
 → See The Power Index

Worked Example 2: Sizing a Credit Spread on a $25,000 Account
Let’s walk through a defined-risk spread calculation on a larger account. Suppose your total portfolio value is $25,000, and you decide on a conservative 1.5% risk limit.
First, calculate your maximum dollar risk: $25,000 multiplied by 0.015 equals $375. You cannot lose more than $375 on this trade under any circumstance.
Next, you identify a bullish put credit spread on stock ABC. You sell a $100 put and buy a $95 put, creating a $5-wide spread, collecting a net credit of $1.20 ($120 per spread).
Your maximum loss per contract is the width of the spread ($5.00) minus the credit received ($1.20), which equals $3.80 per share. That means each spread carries a maximum theoretical risk of $380 ($3.80 multiplied by 100).
Now divide your risk budget by the risk per contract: $375 divided by $380 equals 0.98. Because 0.98 is less than 1 full spread, purchasing 1 spread would risk slightly more than your 1.5% target.
You have two choices: pass on the trade, or slightly widen your risk tolerance to 1.52% to take exactly 1 contract. You never take 2 contracts, because 2 contracts would put $760 at risk, blowing past your safety limits.
The Sleep Test and Managing Total Portfolio Heat
Sizing individual trades correctly is only half the battle. You also need to manage your portfolio heat, which is the total dollar amount you have at risk across all open positions at once.
If you have ten open positions that each risk 2%, your total portfolio heat is 20%. If an unexpected market crash hits all ten positions at once, you take a massive 20% loss overnight.
To protect against broad market moves, keep your total open risk capped between 6% and 10% of your account. That means holding no more than 3 to 5 fully sized positions simultaneously.
I also rely on the simple “Sleep Test.” If you find yourself checking stock prices at 2:00 AM or feeling sick during pre-market futures drops, your position sizing is too large.
Reduce your contract size until market fluctuations feel boring. Consistent, steady gains come from calm execution, not sweaty palms.
Common Mistakes Beginners Make With This
Sizing based on how confident you feel about the trade. Beginners often double or triple their position size because a setup “looks guaranteed.” In options trading, unexpected events happen all the time, and no setup is ever guaranteed to work.
Averaging down on losing option positions. Adding more contracts to a losing long call or put to lower your average entry price is a destructive habit. You are throwing good money after bad into an asset that is rapidly losing time value.
Loading up on cheap out-of-the-money lottery tickets. Buying 50 contracts priced at $0.10 feels cheap because the per-contract cost is low. However, that is still a $500 bet on an asset with an extremely low probability of expiring in the money.
Ignoring correlated positions. Opening bullish calls on five different tech stocks might look like five distinct trades, but they will likely all sink together if tech drops. Treat correlated setups as one single combined risk pool.
Options Position Sizing FAQ
How much of my account should I risk on a single options trade?
You should risk no more than 1% to 2% of your total liquid account value on any single trade. If your account holds $5,000, your maximum possible loss on any position should stay between $50 and $100.
Can I risk 5% or 10% per trade if my account is very small?
Risking 5% to 10% per trade on a micro account is tempting, but it dramatically increases your chances of blowing up. If your account is too small to trade single contracts under 2% risk, focus on vertical spreads or paper trade until your capital grows.
What should I do if the math says I can only buy 0.7 contracts?
Always round down to the nearest whole contract number rather than rounding up. If rounding down gives you zero, pass on the trade or switch to a spread with a narrower width to fit your budget.
Does position sizing apply to covered calls and cash-secured puts?
Yes, but the risk calculation differs because you are holding collateral or physical stock. For cash-secured puts and covered calls, make sure the underlying stock allocation does not exceed your target concentration limits for a single company.
Now that you know how to protect your downside and size like a professional, we need to focus on what to do when trades go right: in Part 41, we will break down exactly when to take profits on an options trade before the market takes them back.
📈 Want More? Join Our Free Trading Community
- Trading Strategy Guides Telegram — daily strategy tips and market insights
- Find Better Trades Telegram — free trade signals delivered to your phone
- Find Better Trades on YouTube — live trade breakdowns and tutorials
Lesson 40 of 55 in the free Options Trading Course.
← Previous: Weekly vs Monthly Options: How to Choose the Right Expiration
Next: When to Take Profits on Options: How to Lock In Gains →